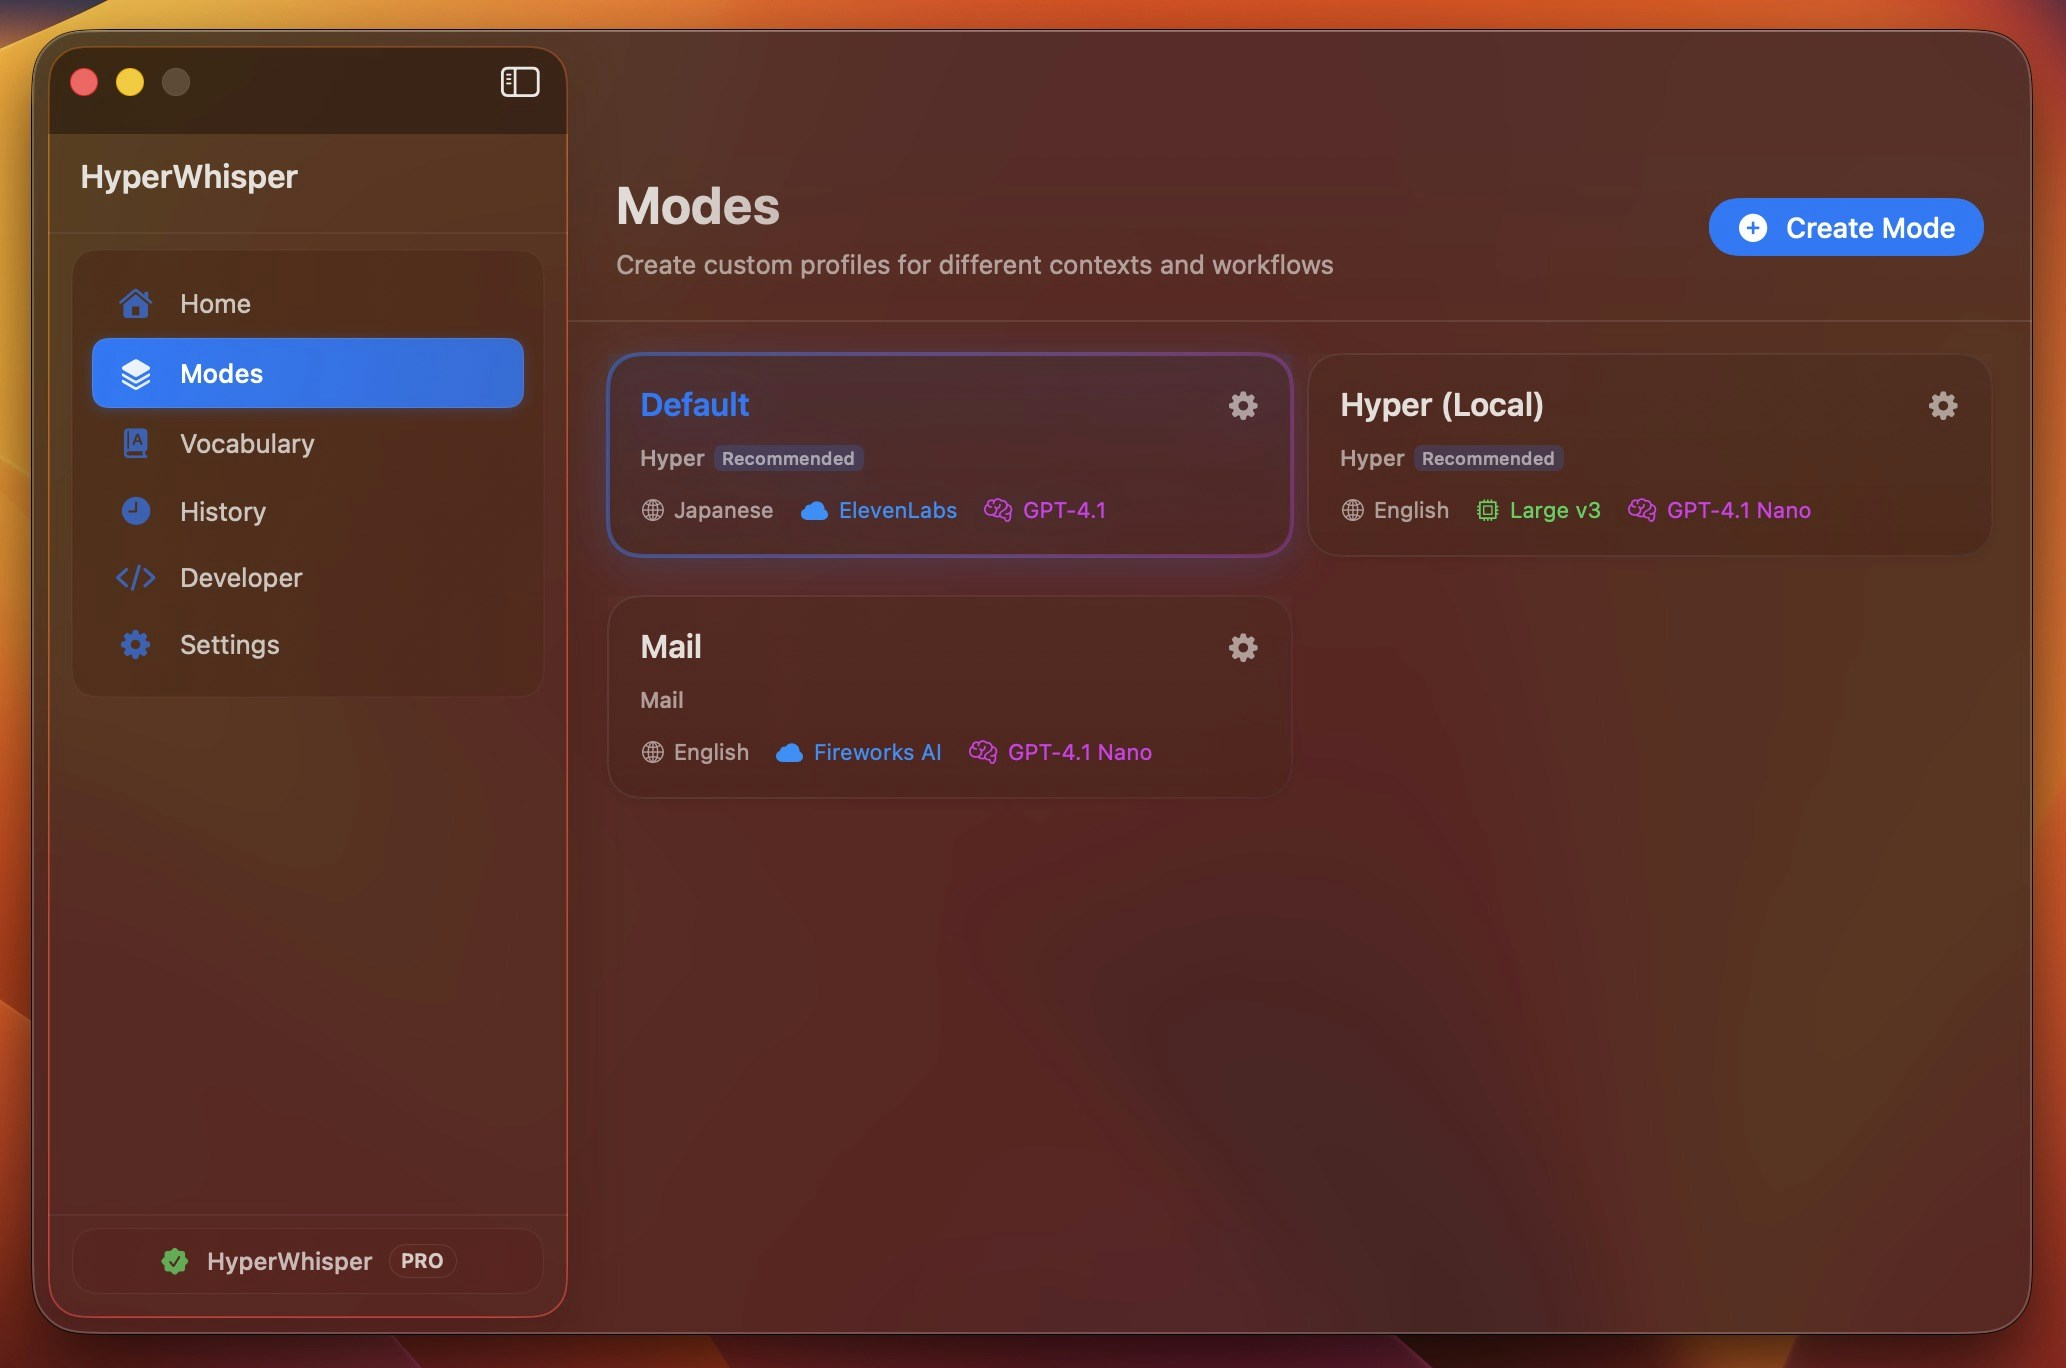
Switching Modes
Press the Change Mode shortcut from anywhere on your machine to cycle through your available modes. A notification briefly shows the active mode name after each switch.- macOS
- Windows
Default shortcut:
⌃⇧K (Control+Shift+K). You can rebind it in Settings → Shortcuts.Built-in Presets
When you create a mode you choose a preset, which sets the AI post-processing instructions for that mode. Seven presets are available on both platforms:| Preset | Best for |
|---|---|
| Hyper (recommended) | General dictation. Context-aware formatting that adapts to your active app—smart punctuation, capitalization, and minor grammar fixes while preserving your original wording. |
| Message | Chat apps. Casual, conversational style. |
| Email composition. Professional formatting with greeting and sign-off. | |
| Note | Note-taking apps. Structures content with headings and bullets. |
| Meeting | Long recordings. Extracts key decisions and action items from meeting transcripts. |
| Code | Voice-to-code dictation. Converts spoken symbol names to code syntax (e.g. “open paren” → (, “fat arrow” → =>, “camel case user name” → userName). No automatic capitalization or punctuation—only what you explicitly say. |
| Custom | Write your own AI instructions for domain-specific needs. |
The legacy “Voice to Text” preset has been replaced by setting AI Post-Processing → Off on any mode. Existing modes that used it are migrated automatically.
Transcription Source
Each mode has a transcription source: On Device, HyperWhisper Cloud, or Your Provider (bring your own API key).On Device (local)
Download Whisper or Parakeet models for fully offline transcription. Larger models are more accurate but require more disk space. Some Whisper models with an.en suffix are English-only; Parakeet v2 is also English-only (v3 is multilingual). Browse and download models in Model Library.
HyperWhisper Cloud — STT Engine
When using HyperWhisper Cloud, you choose which speech-to-text engine processes your audio. The engine is set per mode, so you can use a faster engine for messages and a higher-accuracy engine for meeting notes. Eleven engines are available:| Engine | Notes |
|---|---|
| ElevenLabs Scribe v2 | Recommended default |
| Deepgram Nova-3 | |
| Groq Whisper | |
| Grok STT | |
| Microsoft MAI-Transcribe 1.5 | HyperWhisper Cloud only |
| Google Chirp 3 | HyperWhisper Cloud only |
| OpenAI Whisper | |
| AssemblyAI | |
| Mistral Voxtral | |
| Soniox | |
| Gemini | Supports a custom transcription prompt—see Gemini Custom Prompt |
Your Provider (BYOK)
Choose a cloud provider and enter your own API key in Settings → API Keys. The model list updates based on the selected provider.Language
Set the transcription language per mode, or leave it on Auto to let the engine detect it. Note that some local models and certain cloud engines only support English—the app flags incompatible combinations. Tip: If you regularly dictate in multiple languages, create a separate mode for each one rather than relying on auto-detect for every recording.AI Post-Processing
After transcription, HyperWhisper can send the raw text through an LLM to clean it up, reformat it, and apply the preset’s instructions. Three options:- Off — Raw transcription output with no AI pass. Use this for fastest results or when you don’t want any reformatting.
- Cloud — AI cleanup via HyperWhisper Cloud or your own API key (OpenAI, Anthropic, Gemini, Groq, Grok, Cerebras, Mistral).
- Local — Process text on-device with a downloaded model. No internet required.
Raw Transcription (Post-Processing Off)
Set AI Post-Processing to Off to get the raw transcript from the STT engine with no further changes. This is the fastest path and is useful when you want verbatim output or are pasting into a tool that does its own formatting.Cloud Post-Processing Engine & Model
When post-processing is set to Cloud and you’re using HyperWhisper Cloud, you can choose which LLM engine and model handle the cleanup pass. This is separate from the transcription engine. The engine and model are selected per mode. Available engines include Cerebras, Groq, Anthropic (Claude), Grok (xAI), OpenAI, Google Gemini, and Mistral. Each engine offers one or more models in a nested picker.Additional Formatting Options
These toggles are applied on top of the preset instructions:- Punctuation — Add commas, periods, and basic punctuation.
- Capitalization — Automatic sentence case.
- Profanity filter — Replace explicit words in transcripts.
- Remove Trailing Period — Strip the period at the end of a transcription. Useful for short phrases pasted into search fields, chat inputs, or command lines where a trailing period looks wrong.
English Spelling Variants
When your language is English and post-processing is on, you can pin a spelling variant so the AI uses consistent conventions:- American (default) — e.g., color, organize, favor
- British — e.g., colour, organise, favour
- Australian — e.g., colour, organise, favour (Australian conventions)
- Canadian — e.g., colour, organize, favour (Canadian conventions)
Streaming Transcription
Streaming transcription displays words as you speak rather than waiting until you stop recording. It uses a separate shortcut from the standard toggle.- macOS
- Windows
Default shortcut:
⌥⇧Space (Option+Shift+Space). Configurable in Settings → Shortcuts.Enable or disable streaming and set its language in Settings → Streaming.Screen OCR
When Screen OCR is enabled on a mode, HyperWhisper captures the visible text on your screen at the moment recording starts and passes it to the AI as context. This helps the AI spell proper nouns, identifiers, and technical terms correctly—especially useful when dictating about content you’re looking at. To enable it, edit a mode and turn on Screen OCR. The app requires Screen Recording permission the first time you use it. See Permissions for how to grant it. Screen OCR is a per-mode toggle, so you can enable it only for modes where context from the screen genuinely helps (for example, a Code mode or a Meeting mode) and leave it off for casual dictation.User-Supplied System Prompt
Every mode has an optional System Prompt field (up to 2,000 characters) that is appended to the post-processing instructions after the preset template. Use it to add context the preset doesn’t cover—your industry, preferred terminology, standing output rules, or anything you’d tell an assistant at the start of a session. Examples:- “Use metric units. Spell out numbers below 10.”
- “This is for internal tech docs. Prefer ‘we’ over ‘I’.”
- “Always capitalize ‘HyperWhisper’.”
Gemini Custom Prompt
When the transcription engine is Gemini, an additional Gemini Custom Prompt field (up to 2,000 characters) lets you pass custom instructions directly to Gemini’s transcription step—before post-processing runs. This controls how Gemini interprets the audio, not how the output is reformatted. This field is distinct from the User-Supplied System Prompt, which affects post-processing.Cloud Transcription Domain
For HyperWhisper Cloud transcription, you can set a Transcription Domain on a mode to route audio through a domain-specific model. Currently the supported value ismedical, which targets a backend tuned for clinical vocabulary and note formats.
This setting is available per mode and is passed as a hint to the cloud backend. Leave it blank for general-purpose transcription.
Creating and Editing Modes
Open the Mode Editor
Click the + button in the mode list to create a new mode, or click an existing mode to edit it.
Choose a preset
Select the preset that best matches your use case. The preset sets the AI post-processing instructions. For full control, pick Custom and write your own.
Set your transcription source, engine, and language
Choose On Device, HyperWhisper Cloud (and pick an STT engine), or Your Provider. Set the language or leave it on Auto.
Configure post-processing
Choose Off, Cloud, or Local. If Cloud, optionally pick a post-processing engine and model. Add a system prompt if you want extra instructions.
Adjust formatting options
Toggle punctuation, capitalization, profanity filter, remove trailing period, and English spelling variant as needed.
Tips
- One mode per context — Create a dedicated mode for each workflow (client emails, meeting notes, code, casual messages) rather than switching settings on a single mode. The Change Mode shortcut makes it fast to switch.
- Per-language modes — If you dictate in multiple languages, a dedicated mode per language is more reliable than auto-detect alone.
- Start with Hyper — The Hyper preset handles most general dictation well. Only add a system prompt or switch presets when you notice consistent gaps.
- Raw output for tooling — Set post-processing to Off when piping transcription output into another tool that does its own formatting (IDE, terminal, form field with validation).